Let's make it
Instructions.
- 1
Add ½ cup of clear school glue and ¼ cup of water to a mixing bowl, then stir until completely combined.
- 2
Pour colored sand into the glue mixture and stir, starting with a small amount and adding more for a grittier texture.
- 3
Mix in ½ teaspoon of baking soda until it is fully incorporated.
- 4
Add 1–2 tablespoons of contact solution a little at a time while stirring, stopping when the mixture thickens and pulls away from the sides of the bowl.
- 5
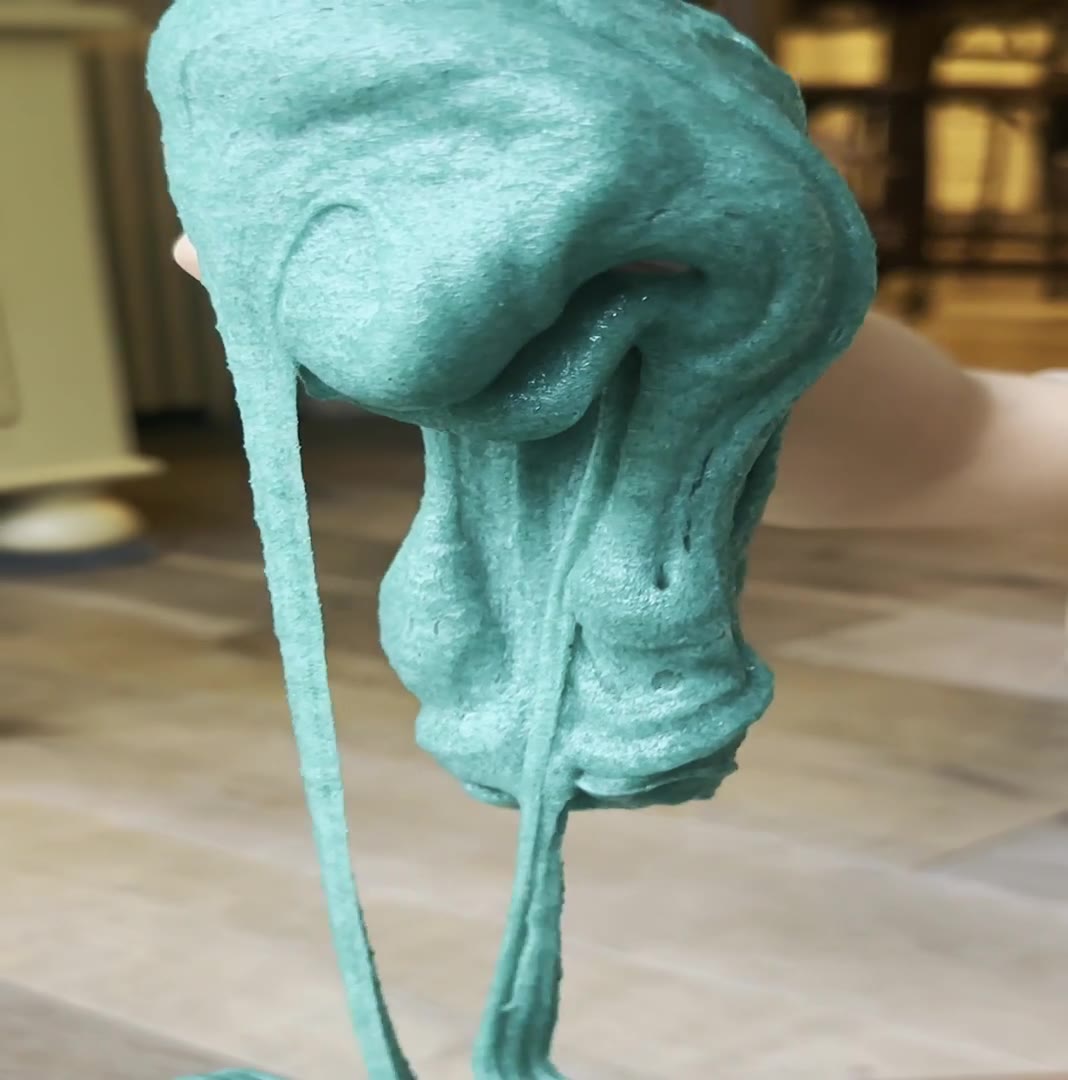
Remove the slime from the bowl and knead it with your hands. If it remains very sticky after kneading, add a tiny amount of contact solution and knead again.
- 6
Stretch, roll, squeeze, flatten, poke, or cut the finished slime with child-safe play tools.
Safety tip
- Check the contact solution ingredients before beginning. It should contain boric acid and/or sodium borate for the slime to activate.
- Sand slime is not taste-safe or edible. Supervise closely, do not offer it to children likely to put slime or sand in their mouths, choose any small add-ins for the child's age and abilities, and wash hands after play.
Field Notes
- Parent tip: Allow about 5 minutes for prep. Add the contact solution slowly—you can always add more, but too much activator can make the slime firm instead of stretchy.
- OT lens: Squeezing and kneading works hand strength; stretching and pulling encourages bilateral coordination; and pinching, poking, and manipulating supports fine motor skills and tactile exploration.
- Sensory tip: Children who are unsure about touching the slime can begin by exploring it with a spoon or another tool.
- Parent tip: Turn the slime into a hide-and-find activity by adding small toys or other objects. Choose add-ins that are appropriate for your child’s age and abilities.
- Storage tip: Keep the slime in an airtight container or resealable bag. Check stored slime before reuse and discard it if its appearance, smell, or cleanliness changes.